Is your air conditioner no longer keeping the interior as cool as before? It probably means there’s a problem with the unit and needs replacement. If you know how to install RV air conditioner you can install that new unit without paying someone to do it.

New RV AC Installation
If there are only minor problems with your AC, it is all right to do repairs or replace a few components. But if the breakdowns occur more frequently it’s more practical to buy a new AC.
The cost of buying a new AC may be higher at first, but it’s going to save you money since you don’t have to pay for new parts and repairs constantly. If you crunch the numbers, it’s cheaper to buy a new AC that will last for years, rather than pay for repairs again and again.
How To Install Rv Air Conditioner On Rooftop?
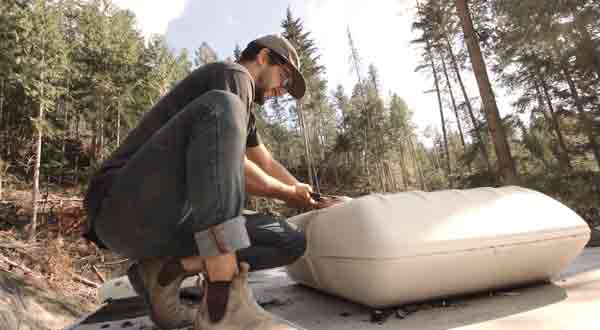
If you’ve got basic tool and DIY skills there’s no reason why you can’t install a new AC. The most difficult part is getting the new AC on the roof and removing the old one. You will find this task easier if you have a friend to assist you.
The basic steps are:
- Take off the shroud
- Remove the ceiling assembly of the AC
- Disconnect the wiring and remove the AC retaining flange bolts
- Use a putty knife for separating the roof and gasket
- Remove the sealants and roof coating
How to Remove the Old AC?

1. Put some old blankets or drop cloths around the area where you’ll install the new AC. If you’re not sure if the roof can support your weight, put plywood or planks around the rooftop before you climb on.
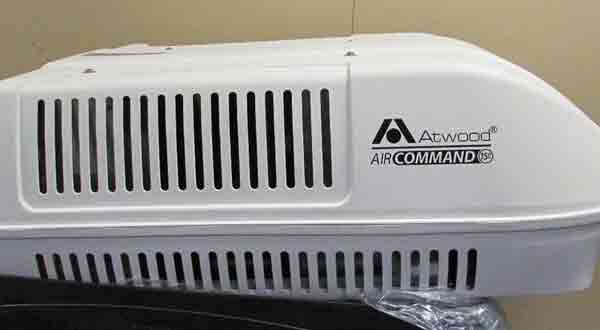
2. Take off the shroud on the AC by unscrewing the bolts. There are usually 4 screws on the shroud. Scrape off any adhesives on the AC base using a putty knife.
Unbolting and Removing
3. The bolts on an AC unit are connected to the rooftop via the bolts. These are set in a bracket, threading in the rooftop and into the AC. Between the RV roof and the rooftop is a rubber seal which secures the bolts.
4. Use a wrench or screwdriver to remove the bolts, releasing the ceiling flange. Loosen the ducting. If necessary head to the roof again and use a putty knife to loosen the AC from the rooftop.
5. Carefully lift the AC unit and take it down from the roof. Clean the roof before installing the new one to avoid leaks. Do not put the new AC on until all the old adhesive and putty have been removed.
How to Placing New AC Properly?

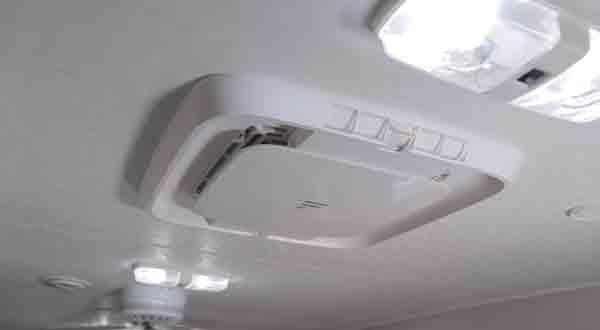
6. Put the new AC where the old air conditioner was. Position it above the duct hole. It will be easier if you have someone in your RV to help with the installation. The gasket needs to be aligned with the 14 x 14 square ceiling opening. Refer to the AC manual for instructions on how to turn the ceiling assembly flange properly.
7. Secure the bolts to the rooftop according to the instructions on your AC. The process may vary from one model to another so refer to your manual for the specifics.
Air Conditioner Electrical Connections
To install your new AC:
- Install the duct and connect the ceiling flange.
- Connect the wiring to the assembly on the ceiling.
- Take off all the adhesive strip and start trimming the duct.
- Put the shroud on the new air conditioner.
8. Connecting the wires and the line should be done in the ceiling assembly junction box. Since these are color coded wires you’ll be able to match it with the wiring. Your new AC will have wire nuts you can use to connect the electrical wires.
9. Ensure the wires are secure and there is no exposed wiring. Put some electrical tape around the connections to further fortify it. If you don’t fancy handling electrical wires get an electrician to do it for you.
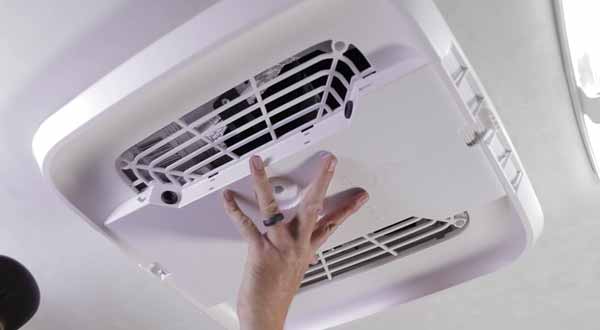
10. Put the filter cover on and slide the shroud on the air conditioner. Fasten the shroud with screws. Plug the power back on and installation is complete.
Tips and Warnings

- Check your RV owner’s manual for info on what type of air conditioner works best with it. Use that as a guide to determine what type to buy
- Do a compete test after installing a new AC. Try out all the features and settings so you’ll know right away if there is a problem.
- Don’t forget to examine the warranty coverage and take advantage of it.
- If the AC no longer cools air the way it used to, it is probably due to a dirty air filter. Clean the filter every 2 months. Check for signs of dirty air or dust and clean it up immediately.
- A dirty cold air return can also keep your AC from producing cool air. For ducted air conditioning units, you will find the cold air return at the back of a vented grate along the ceiling.
- Prepare all the tools and materials you need before replacing the AC.
- If you’ve got a heavy AC installed, carefully remove as described in the steps above. Now make sure someone is down there to receive the old AC when you take it down.
- Do not install a new AC unless the weather is good and clear.
- Follow the manual directions on how to clean an air filter. If there is no info, mix mild detergent and lukewarm water. Clean well and thoroughly rinse. Allow it to dry overnight. You can also use air compressing tools to clean the unit.
- After heavy use during the summer, check the air return for signs of contaminants.
There are a few more things you can do to ensure the AC runs smoothly. Look up the condenser coil and make certain they’re not pinched or blocked. The fan should drive hot air out of your RV.
Your unit gets a minimum of 115 volts. With a low voltage your AC can still operate but it will not be at full power. It is always better to have the AC running at max capacity so you get optimum performance.
You can help the AC cool your RV by parking under shade. The hotter it is the harder your AC has to work. If it is exposed to the sun then it’s going to exert more effort to cool your unit. By staying in shade the interior cools much faster. This also lessens the workload on your AC, prolonging its lifespan.
Another thing you can do is shut the windows. Insulate them so the cool air does not escape. Do this and you’ll get more from your AC. It also helps to establish zones, areas where the AC is needed and where it is not so you can maximize its cooling potential. Installing LED lights also helps as they’re cooler than fluorescent.
Conclusion
Installing an air conditioner is not as complicated as it seems. As long as you follow the instructions and tips here you’ll have it up and running quickly.
Recommended To Read:
My husband wants to install our new air conditioner on his own. I guess my husband has to prepare for screwdrivers because as you’ve mentioned, he’ll be needing it to remove the bolts, so the ceiling flange can be released. this seems helpful, but I think it would be better if we’ll just hire a professional AC installation service to do it.
Always hiring professionals reduces effort and time.
Learning how to replace the RV air conditioner gasket can help you manage the leaks permanently. The first step is replacement procedures is protecting your motorhome rooftop. Then, pull the AC shroud off from the ACU and set it aside, remove the RV air conditioner. Pull out the old RV AC gasket from its location and clean the surface, you can already install an new RV air conditioner gasket. Finally, Carefully reposition the RV air conditioner over the gasket.
Thanks for sharing. 🙂
Learning how to replace the RV air conditioner gasket can save your RV’s interior against water damage and contribute to a more comfortable sleep.
My RV air conditioner is leaking and I read that the AC gasket should be replaced and I am looking to change it. Thank you for writing this
Our Pleasure. 🙂
I followed your instructions and it worked. The instructions are easy to follow and easy to understand
Thanks for sharing such helpful content!