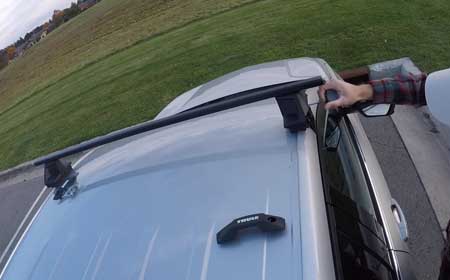
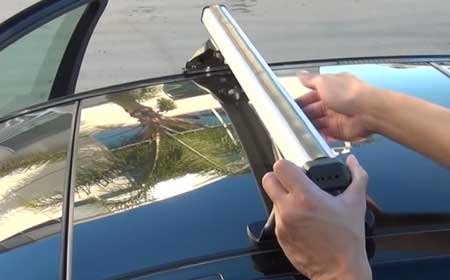
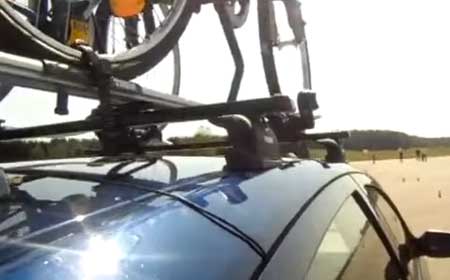
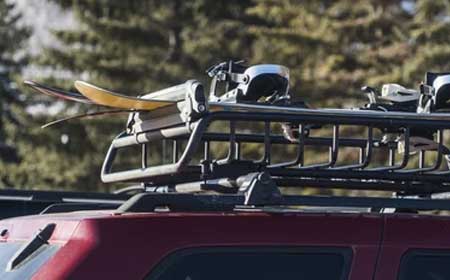
It's hard to take your gear on the go if you don't have a roof rack. A lot of people think that they need to have rails on their car in order to install a roof rack, but that's not true! You can easily install a roof rack without the crossbar.
With the help of some simple tools and safety precautions, you can easily install a roof rack on your car without rails. But for that, you need to know the proper knowledge on how to install roof rack on car without rails.
For that, you must know the right steps to do that. So, those who want to know how to install a roof rack on a car without a cross bar keep reading this article.
How to Install Roof Rack on Car without Rails in Easy 10 Steps

There are a few simple steps you can follow to install a vehicle's roof rack system on the car without a roof rail. The following steps will guide you on how to install a roof rack on a car with different types of roofs:
Step 1: Type of Car Roof
The first step is to identify the type of car roof you have. The most common types of car roofs are flat, rounded, domed, or a combination of each.
Knowing the type of your roof is important because it's going to help you determine which rack will work best for your vehicle and whether extra tools are required.
Step 2: Determine Rack Type
After you have identified the type of roof box that your car has, the next step is to decide which rack type will work best for your vehicle. There are different styles of roof racks available, so it's important to select one that fits your car.
There are two main types of roof racks: full-length and basket style. A full-length roof rack is more of a permanent installation and is mounted across the entire width of the car.
A basket-style rack, on the other hand, can be attached to almost any type of roof and mostly sits above the car's roofline.
Step 3: Tools Required for Installation
The next step in installing your roof rack is to gather all the tools you need. To properly install your roof rack, you will need the following all the mounting hardware:
- The car's owner's manual for reference
- A torque wrench or adjustable wrench
- Socket set
- A ladder or step stool
- Hand drill and appropriately sized drill bits
- Clamps or a second person to help hold the rhino rack in place while you work
Step 4: Decide Location for Installation

The next step is to decide where on the car you will install your roof rack. You want to consider three factors.
The first factor is how much weight you need to carry in your roof rack, which determines where you should put it in relation to the roof's structure.
Another factor is style preference since some designs may look better at the front end of the car.
The last factor is the ease of installation, which means you want to mount it in a way where it can be easily accessed for use and doesn't obstruct your view too much.
Once you have decided on the location based on these guidelines, mark that spot with tape or chalk so you can easily see it.
Step 5: Mark Location of Screws on Car
When you have decided on the location for your roof rack, mark that spot with a piece of tape or a small amount of chalk to ensure that you know where to drill your first hole.
Drilling into the car's body can be tricky and is best done with an extra person to help you. If you don't have anyone to help, drive the car onto a set of ramps instead since this will make the installation process much easier.
Step 6: Drill Holes
Before you begin drilling, make sure that all of your tools are within reach. You may also want to place the ladder or step stool next to the car, so it's easy to move from one spot on the roof to another when needed.
Then, use a power drill fitted with a small bit to bore a hole through the marked spot on the car's roof. Follow up with a larger bit that is just slightly smaller than the screws you have.
Step 7: Attach Rack to Car
Next, use your socket set to tighten the screw into place, so it's flush with the roof of your car. Before proceeding, double-check that all of the other screws also have a firm grip on the roof of your car.
You may need an extra pair of hands to hold the kayak roof rack in place while you are working on it, so it doesn't slip out of place and injure you.
Step 8: Additional Rack Attachment (Optional)
It is also possible to attach another set of cross bars towards the rear of the vehicle to further increase the strength and stability of your rack. If you choose to do so, follow these steps:
- Drill the second set of holes roughly 2 inches below the first
- Place a rubber washer on each screw before attaching them to the car's roof
- Use standard nuts to tighten the screws into place
Step 9: Clean Up
After your kayak rack is securely attached, clean up any tools or debris on the ground, so you don't get in an accident or slip and fall. You can then mount your gear to the rack, so it's safe during transportation.
Step 10: Test Drive

Now you can get on the road and enjoy your new kayak roof rack! Make sure to test the placement of your gear, so you have easy access to it while driving.
And that's all there is to it! Whether you're going camping or just need a place to store luggage, now you can safely carry all sorts of cargo carrier on your car with a roof rack.
By following these steps, you can install your roof rack in just a few hours' time. Have fun and stay safe when you're out on the road!
Roof Rack Installation Safety Precautions
A few things to keep in mind before you start your roof rack installation:
i) Don't use this process on any vehicles that have an external antenna. Damage will occur to the roof of your car.
ii) Don't use power tools with strong magnetic fields, or you may damage electronics in your car.
iii) Don't drill into areas that are adjacent to airbags, brake cables, wiring, etc.
iv) Don't drill into areas that are covered by some sort of insulation. If you puncture the foam, it will reduce the effectiveness of your roof rack.
v) Be aware of all local vehicle codes and ordinances regarding what types of activities you can or cannot do on your car's roof.
Note: Make sure that the car is turned off and the parking brake is on when you're working with power tools on your car.
Roof Rack vs Roof Rails
There are a few key differences between roof racks and roof rails:
i) Roof racks are meant to carry extra weight, so they come with a more robust strap than roof bars.
ii) Roof existing rails only need to be installed when you're moving, whereas roof racks are permanent fixed mounting points.
iii) Factory rails are typically built into the exterior of a car, whereas roof racks require you to drill holes in the car's body.
iv) Roof side rails are suitable for carrying lighter items, like snowboards or skis. Roof racks are suitable for carrying heavier items, like luggage or kayaks.
v) Roof racks can be used for more than just carrying cargo, such as transporting a kayak or camper top. The kayak roof rack can also carry some types of loads that raised roof rails cannot, like bicycles and snowboards.
What Are the Advantages of a Car Roof Rack?

A roof rack can increase your storage space by providing a platform to mount gear on top of your vehicle. Kayak roof racks can be especially helpful for transporting large items or sporting equipment.
Additionally, a bare roof rack can also provide extra legroom inside the vehicle, making it more comfortable for passengers to ride in the car.
You also won't need to worry about having enough space for your luggage and other cargo when you use a bare roof rack, as those items can be secured on top of the vehicle.
Conclusion
Now that you know how to install roof rack on car without rails, you can move forward with your plans to take advantage of this additional storage. You'll be able to safely transport items without breaking the bank or taking up valuable room in your trunk.
With these necessary tools and safety precautions, you can successfully install a roof rack on your car and start using it to its full potential. Once the installation is complete, you can easily secure whatever gear or equipment you need onto the roof rack and enjoy your trip.
You Might be Interested:
Leave a Reply