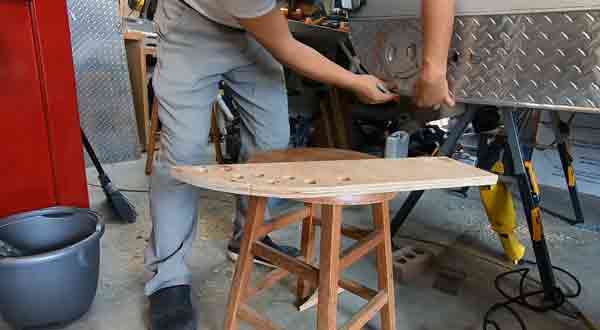
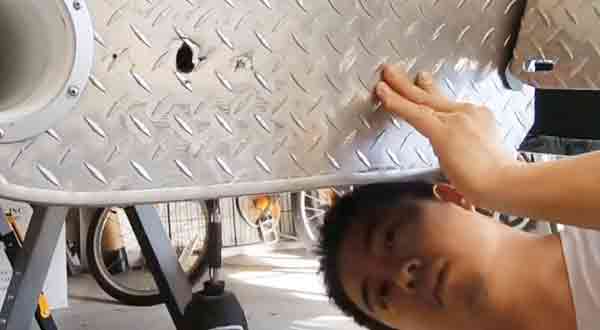
RV corner trim is a necessity for protecting your walls when you are installing new floors or any other surfaces in your RV. It acts as a protective barrier that hides the raw edges of the wall and helps prevent cracks from forming in the wall paint. While the function is simple, trim molding can be challenging.
If you're looking to install trim in a recreational vehicle, the RV corner trim is an important part of your decoration. You may have found, though, that it's difficult to bend to match the curves and shapes of your walls. This is a common problem and can be fixed with some time and patience. This article will show you how!
Tips on How to Bend RV Corner Trim?

Follow these steps to bend RV corner trim:
Step 1. Prepare for the Job
It can be very frustrating to try and bend the trim molding that you're trying to install. Instead of ending up with a smooth rear corner, you end up with a piece of trim that won't fit.
Step 2. Gather tools
If you take your time and use the right tools, the job is much easier.
- Aluminum molding
- Rough brush
- Putty knife or box cutter
- Rope
- Glue
- Sealant
- Screw
- Screwdriver
- Rubber mallet
- RV insert trim
Aluminum moulding is the material used to cover the roof edge, walls and join together multiple sheets of plywood. It's often used in mobile homes, but can also be found in RVs. The aluminum often comes in a sheet form that needs to be cut down for individual uses.
Step 3. Remove the Old Molding Trim

Before you can install the new molding trim, you'll want to remove the old molding trim. Usually, this just takes a screwdriver and can be done in minutes. However, if there are any nails or screws holding the trim in place, it will take longer to locate and remove them. Once you have the old trim out, clean up any residue with a brush and prepare for the installation of your new trim.
While removing the old aluminum molding, take care to get all the nails out. You'll need them when you're ready to put in the new trim.
Step 4. Measure and Mark the Trim
When you're putting in your RV corner trim, it's important to make sure that it fits perfectly. To do this, start by measuring one of your pieces of trim. Then, mark the molding trim with a pencil to indicate where you'll make your bends. The walls of an RV are rarely perfect 90 degree angles, so it's important to take this into consideration and ensure that your corner molding will fit perfectly.
Step 5. Install the New Insert Trim
Start by removing the molding trim from the panel of your RV. Place it upside down on a table and then use a chisel to cut it to size. Cut about an inch wider than the length of your panel. Next, place the trim back into position against the side of your RV.
Step 6. Add the Glue and Sealant
The sealant is an important part of the process because it helps to create a tighter seal so that any dirt, dust, or other bugs can't get inside. Start by adding a generous amount of adhesive glue to the back of your trim molding and then start applying it to the corner you are trying to fix. The lap sealant should cover the entire area. You will have to hold in place for at least 16 hours before proceeding to the next step.
Step 7. Bend the Trim around the Corner
Gently bend the trim around the corner and test in place. If it seems to be too tight, try using a lubricant or WD-40. If it still doesn't want to bend around the corner, you may need to shave it down so that it is thinner.
Step 8. Install the Screws

Screws are important to use in conjunction with the angle brackets, as they will give your corner trim the stability it needs to stay in place during installation. Use a drill or screwdriver on the screw head to secure the screws through the bracket into the RV wall studs for maximum stability.
Use screws to attach one edge of the trim firmly in place in your RV's corner and then work your way around the edge with each screw until you have completed securing all four sides. With this installation technique, you will only need one piece of trim at each corner.
FAQs:
1. Does It Matter If You Use a Circular Saw or Jigsaw for this Project?
Answer: It does not matter which saw you use. Many people argue that a circular saw is more suited for making quick cuts while a jigsaw is better for thicker materials. When it comes to RV corner molding, you will probably find either of these to be an acceptable tool. The media (plywood, OSB or MDF) can usually stand up to both without sacrificing quality. Remember to get high-quality blades for whichever saw you choose - they will last longer and make clean cuts every time.
2. Can I Use Zipties Instead of Screws on My RV's Trim Corners?
Answer: No, it is not recommended to use zipties instead of screws on RV's trim corners. Zipties are made for light duty and may pop apart or cut through the material because they are not designed for heavy loads.
Though there are some DIYers who recommend using them for a wide variety of household tasks, they should not be used in this application.
The best way to attach your corner trim pieces is with galvanized steel self drilling screws, which can withstand weight more easily and also won't split the wood like nails would.
Conclusion:
Staying organized is extremely important when it comes to RV living. To make sure that your belongings are stored neatly and you have a place for everything, be sure to follow these eight steps on how to bend corner trim in an RV.
It may seem intimidating at first glance but with some time and patience, the installation of this type of vinyl trim will come naturally. You'll also find that by utilizing corners as storage space, organizing your things becomes much easier than before.
Leave a Reply